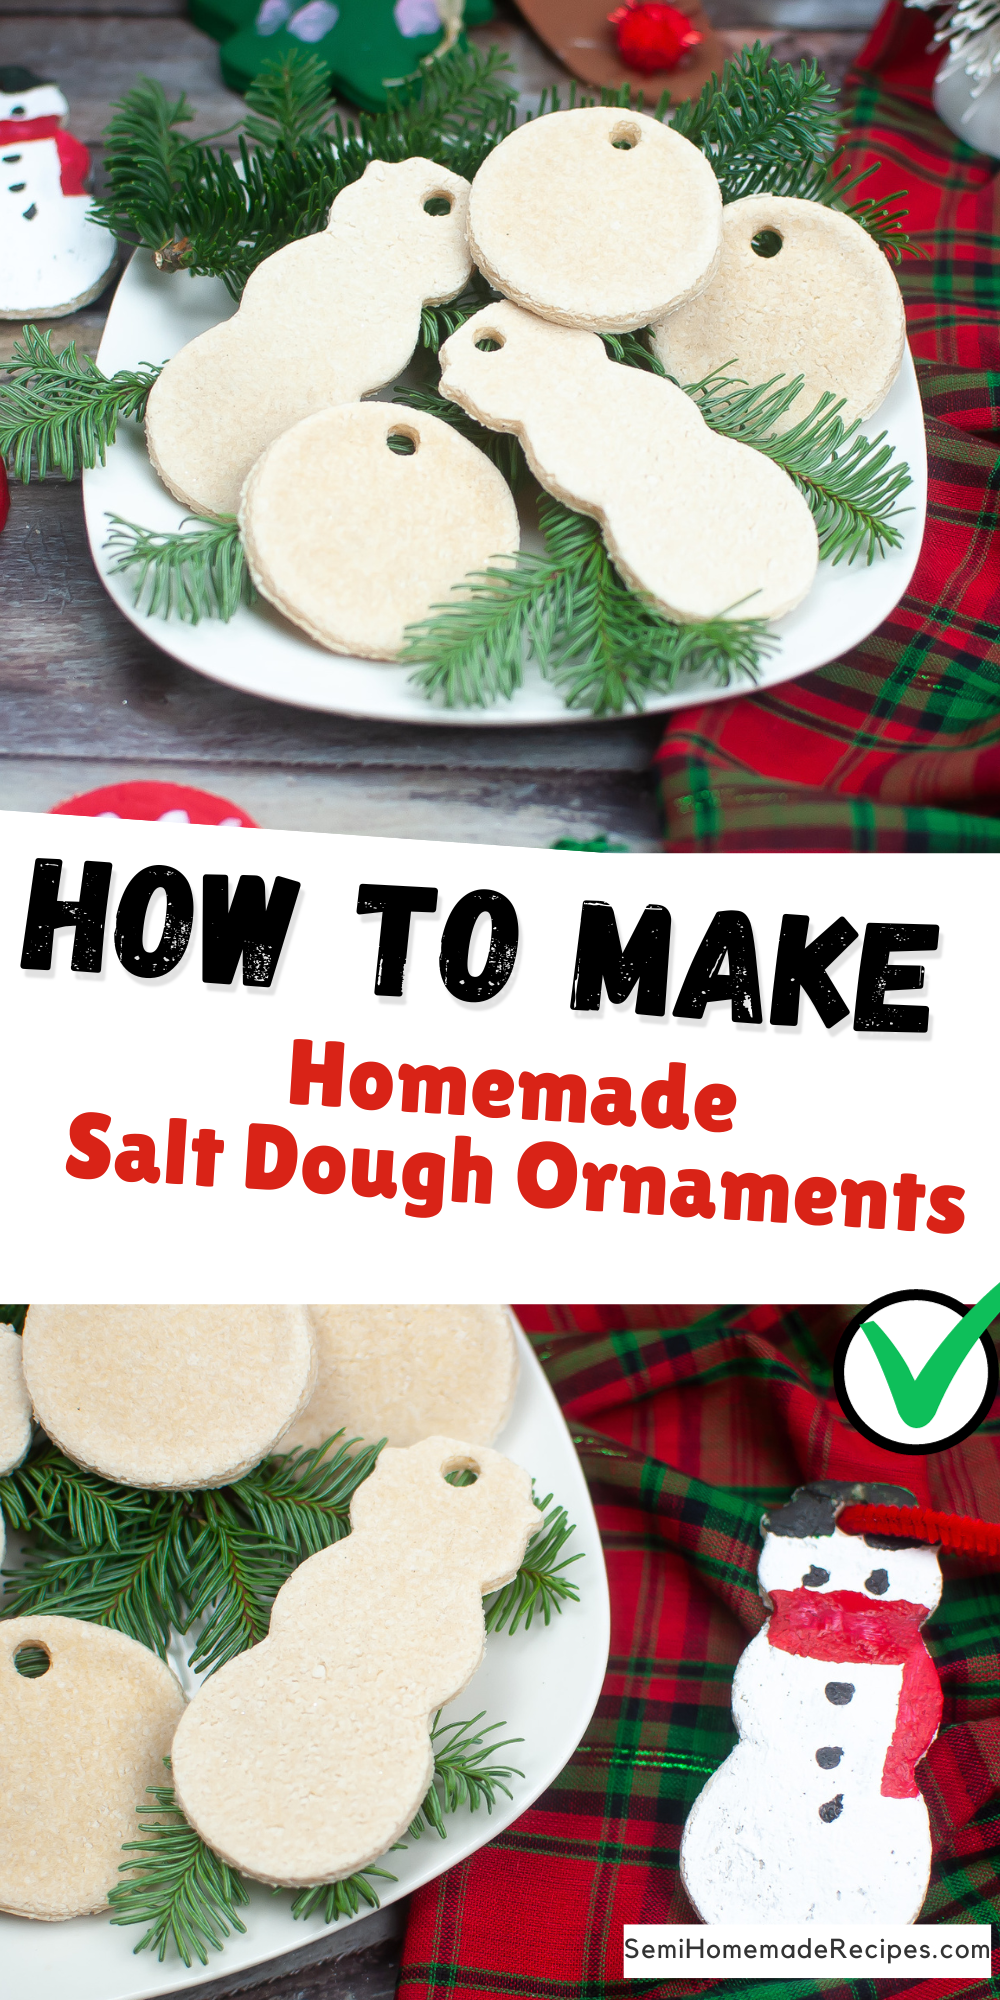
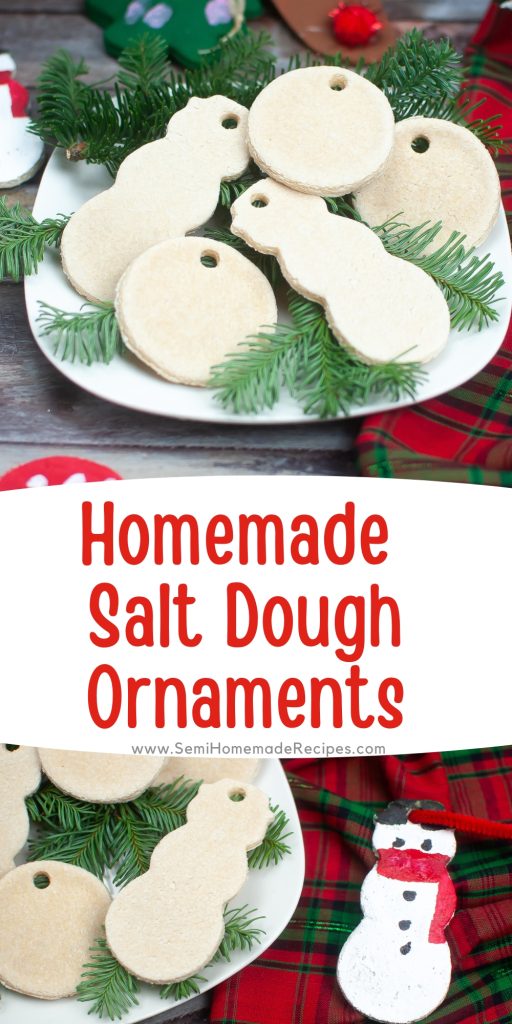
Get inspired to create homemade salt dough ornaments for more than just Christmas. This article will guide you through innovative ideas and designs that can be adapted for various holidays, celebrations, and special occasions. From personalized gifts to unique decorations, let your imagination run wild with salt dough.

I started making these Homemade Salt Dough Ornaments years ago, long before we had a baby. I would make little bone shaped ornaments and use a sharpie to write our pups names on them.
The years have passed by and my favorite doggie, Jasper, has crossed the rainbow bridge but I still have his little Homemade Salt Dough Ornament Bone with his name on it that I hang on the tree every where.
Now that we have a little boy, I love making the salt dough ornaments to paint with him for the holidays! They can be made using any shape cookie cutter and painted to match any theme!
I also love making these as homemade gift tags for gifts throughout the year!
Ingredients For Homemade Salt Dough Ornaments:
- 1 1/2 cups all-purpose flour, divided
- 1 cup salt
- ½ cup warm water
For Decorating:
- Straw to poke hole
- Pipe cleaners, ribbon, and or twine for hanging on the tree
- Acrylic paint
Ingredient amounts and entire recipe directions in recipe card below with print option!
Which Brands Did I Use For These Homemade Salt Dough Ornaments?
Sometimes when it comes to Semihomemade recipe that use packaged foods to create meals, the brands of items can make or break a dish. I don’t think this ALWAYS happens but I do know that not all packaged items are created equally.
All-purpose flour – I used the Food Lion brand
Salt – Morton salt
Warm water – tap or bottled is fine
For Decorating:
Straw to poke hole or chopsticks!
Pipe cleaners, ribbon, and or twine for hanging on the tree – I picked some up from Hobby Lobby
Acrylic paint – Americana Acrylic Paint is pretty cheap… like 99 Cents
How To Make Homemade Salt Dough Ornaments:
-
Pre-heat oven.
-
In a mixing bowl, add the salt and 1 cup of the flour to combine.
Add the water and begin to mix with your hands until a shaggy dough forms.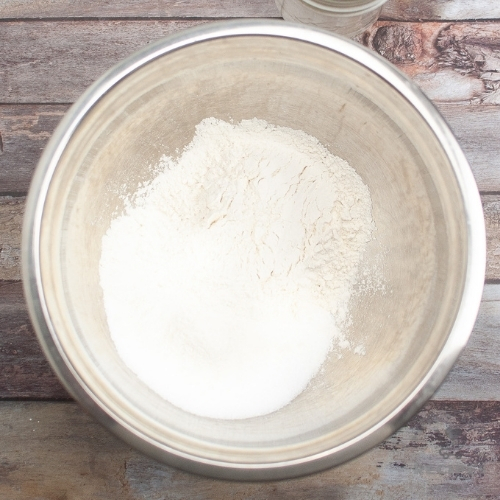
-
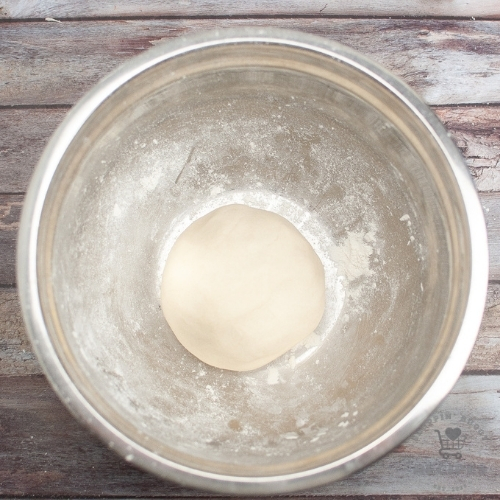
Knead with your hands until it becomes smooth. Gradually add extra flour to smooth the dough.
-
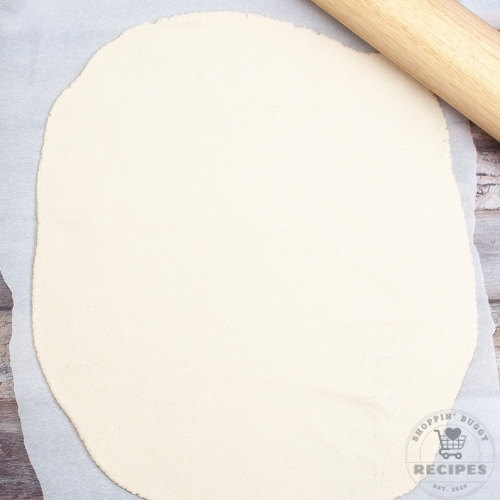
Use a rolling pin and roll it out flat to 1/4’’ thickness.
-
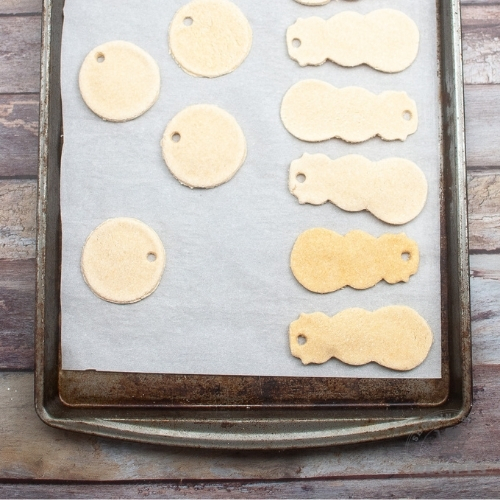
Grab cookie cutters and cut out the ornaments.
Re-knead the unused cut away bits and roll it out again. Repeat until all the dough is used.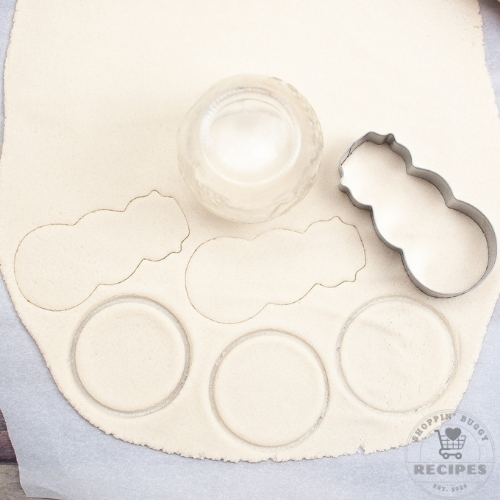
-
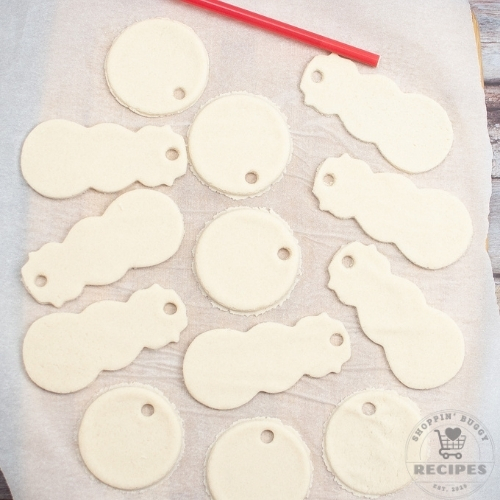
Use a straw to punch a hole in the top of the ornament. Make sure to do this step BEFORE you bake them.
-
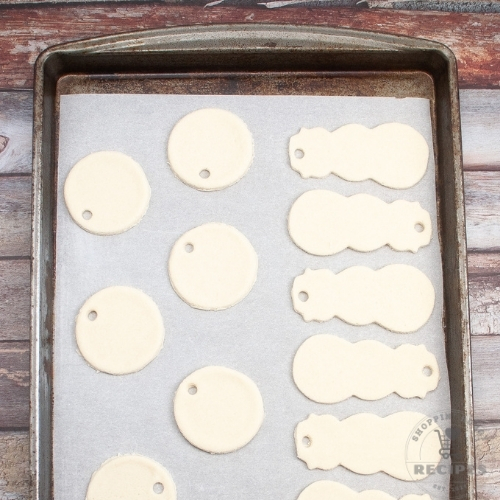
Lay Ornaments on a parchment lined baking sheet.
-
Bake for 2 hours.
-
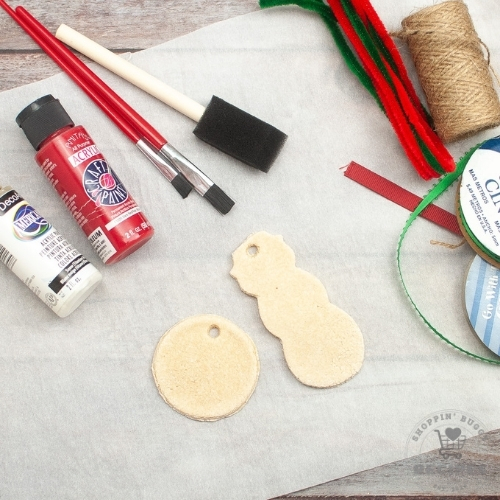
Let them cool and gather paint supplies.
-
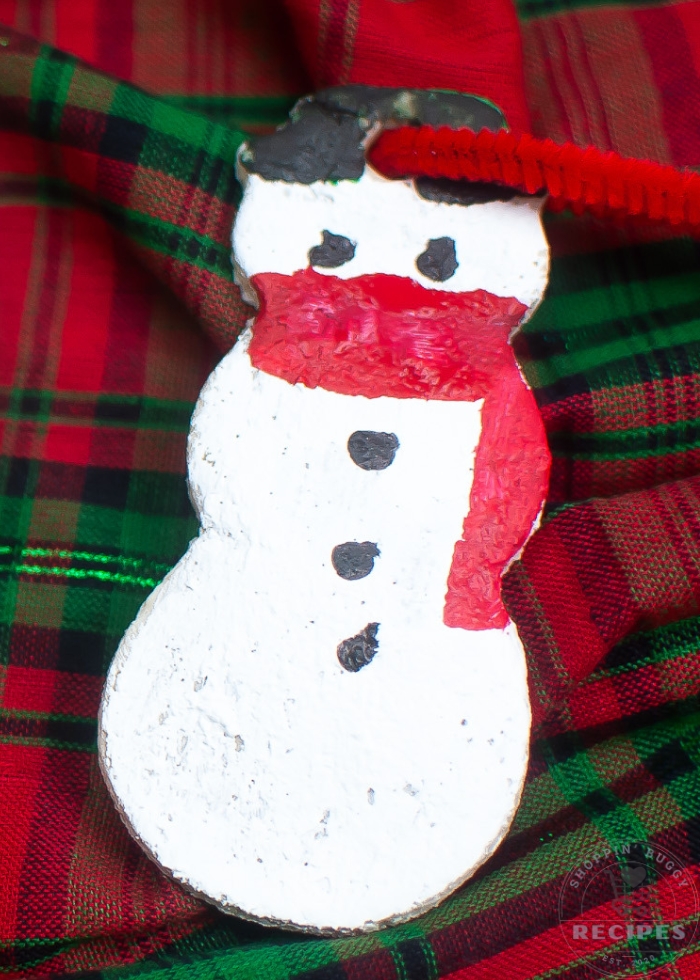
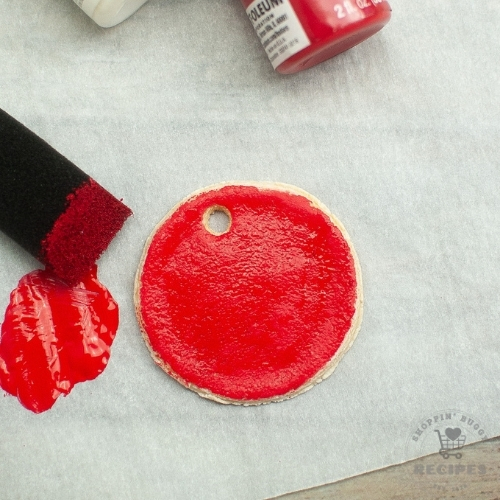
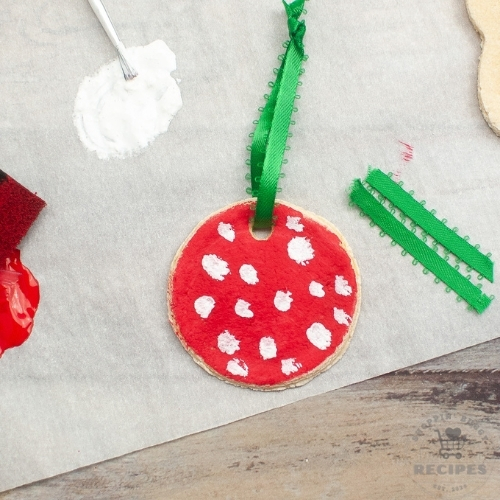
Once cooled, paint the ornaments as desired.
-
Use the pipe cleaner, ribbon and or twine through the hole and hang on the tree.
Not Sure On What Design To Make?
The internet as a powerful tool for inspiration. Websites like Pinterest and Instagram are overflowing with DIY projects, including salt dough ornament ideas. Explore hashtags, follow boards, and save your favorite designs for reference.
Alternative Uses for Salt Dough Ornaments:
Incorporate them into a festive centerpiece. Arrange a collection of ornaments on a decorative tray or platter, and pair them with candles, greenery, or other seasonal elements to create a stunning display for your dining table or mantel.
Use them as place cards for holiday meals, and they can double as take home gifts.
Another idea is to turn your salt dough ornaments into personalized gift tags. Simply attach a small piece of twine or ribbon to the ornament, and write the recipient’s name or a special message on the back. These handmade gift tags will add a thoughtful and unique touch to any present, and can also be kept as keepsakes long after the gift has been opened.
If you’re feeling adventurous, consider using salt dough ornaments as embellishments for other craft projects. Glue them onto wooden frames, decorative boxes, or even jewelry pieces to add a touch of handmade charm. The possibilities are truly endless, so let your imagination run wild and experiment with different ways to incorporate your salt dough creations into your artistic endeavors.
Do I Need to Seal Salt Dough Ornaments?
Preserving and displaying your salt dough ornaments is essential to keep them looking their best for years to come. While you don’t HAVE to, as I have a few that are years old and in prefect condition, you may find that you want to protect your creations from humidity and moisture.
Apply a coat of clear sealant or varnish on both sides of the ornaments. This will help prevent any potential damage caused by changes in weather or environmental conditions.
More Homemade Christmas Ornaments:
More Fun Holiday Crafts:
Homemade Salt Dough Ornaments

Homemade Salt Dough Ornaments
Get inspired to create homemade salt dough ornaments for more than just Christmas. This article will guide you through innovative ideas and designs that can be adapted for various holidays, celebrations, and special occasions. From personalized gifts to unique decorations, let your imagination run wild with salt dough.
Ingredients
- 1 1/2 cups all-purpose flour, divided
- 1 cup salt
- ½ cup warm water
For Decorating:
- Straw to poke hole
- Pipe cleaners, ribbon, and or twine for hanging on the tree
- Acrylic paint
Instructions
Pre-heat oven to 250 degrees.
In a mixing bowl, add the salt and 1 cup of the flour to combine.
Add the water and begin to mix with your hands until a shaggy dough forms.
Knead with your hands until it becomes smooth. Gradually add extra flour to help smooth the dough consistency.
Use a rolling pin and roll it out flat to 1/4’’ thickness.
Grab cookie cutters and cut out the ornaments.
Re-knead the unused cut away bits and roll it out again. Repeat until all the dough is used.
Use a straw to punch a hole in the top of the ornament.
Bake in the oven for 2 hours.
Let them cool.
Once cooled, paint the ornaments as desired. Use the pipe cleaner, ribbon and or twine through the hole and hang on the tree.
If you make this recipe, snap a picture and share it on Instagram or Facebook with the hashtag #semihomemaderecipes — We love to see what you’re making from the blog!

Love it? Pin It!


Leave a Comment