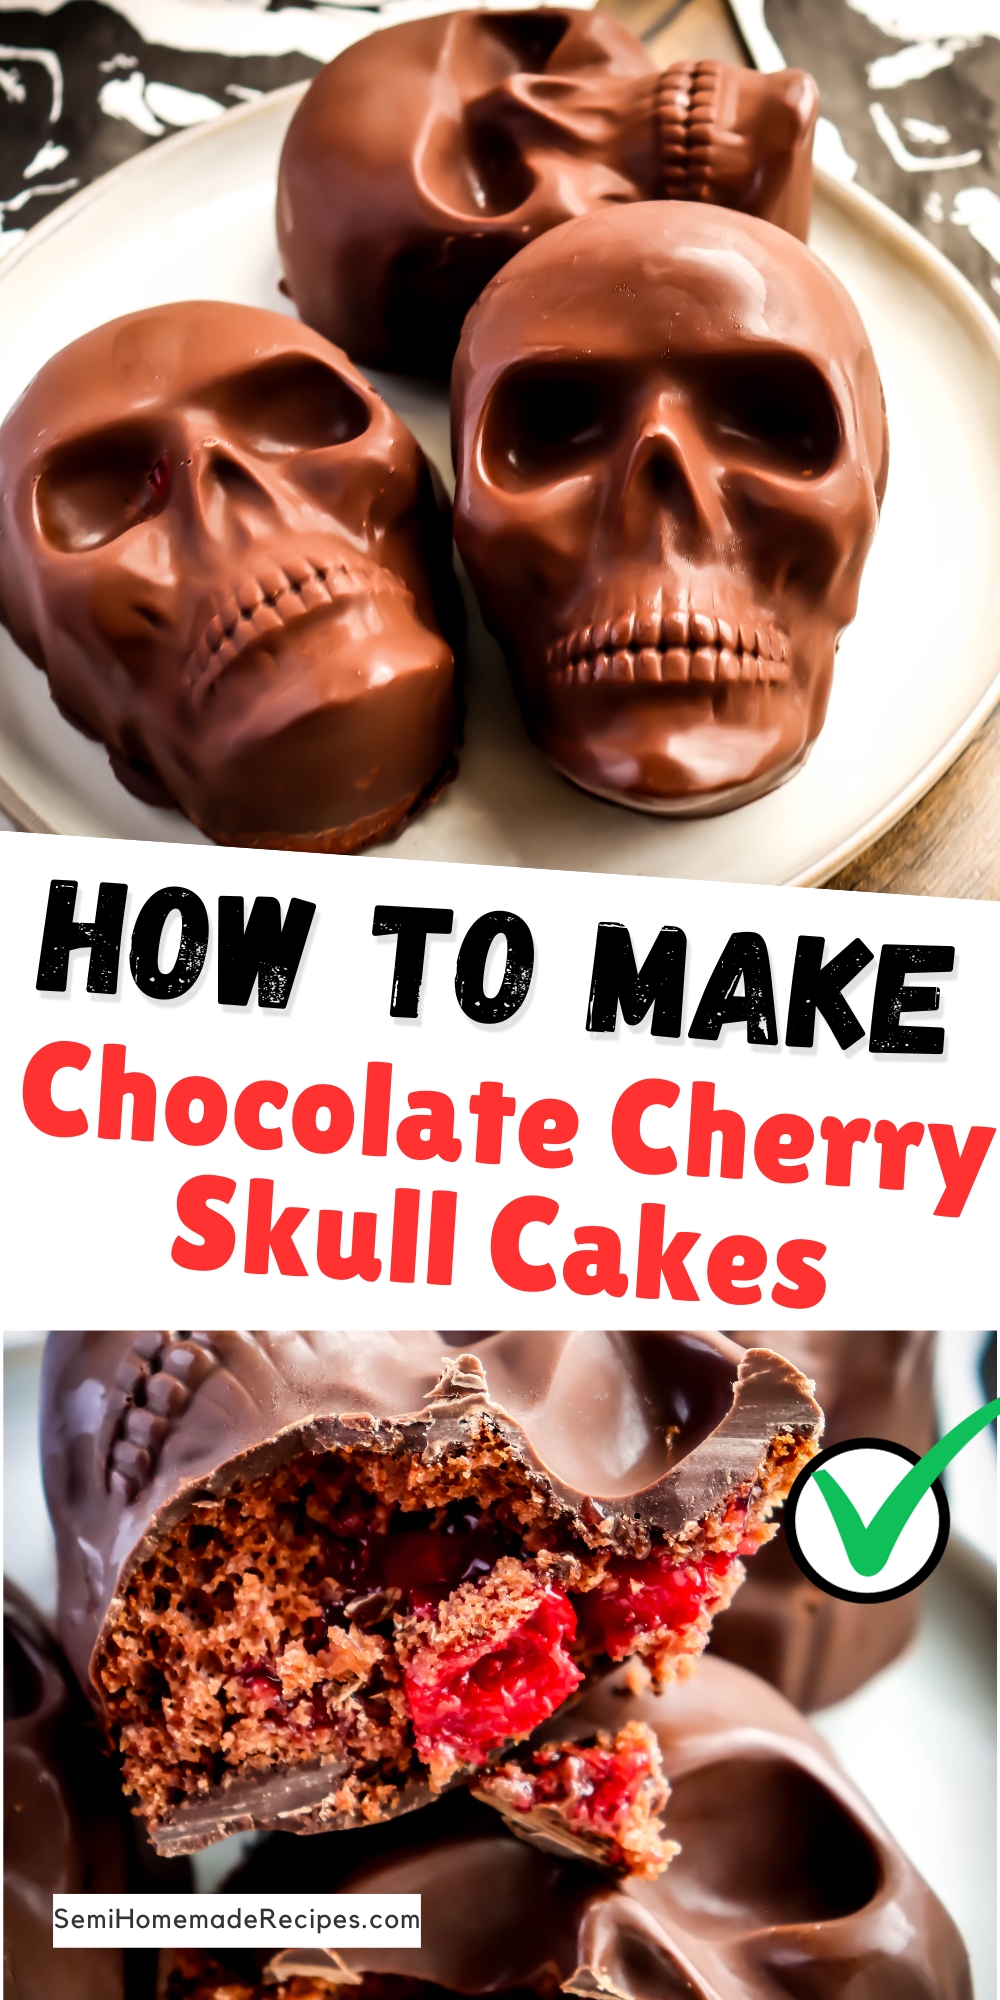

Looking to impress your friends at your next Halloween party? This step-by-step guide for will teach you the tricks to create terrifyingly delicious chocolate cherry skull cakes that will leave your guests in awe.

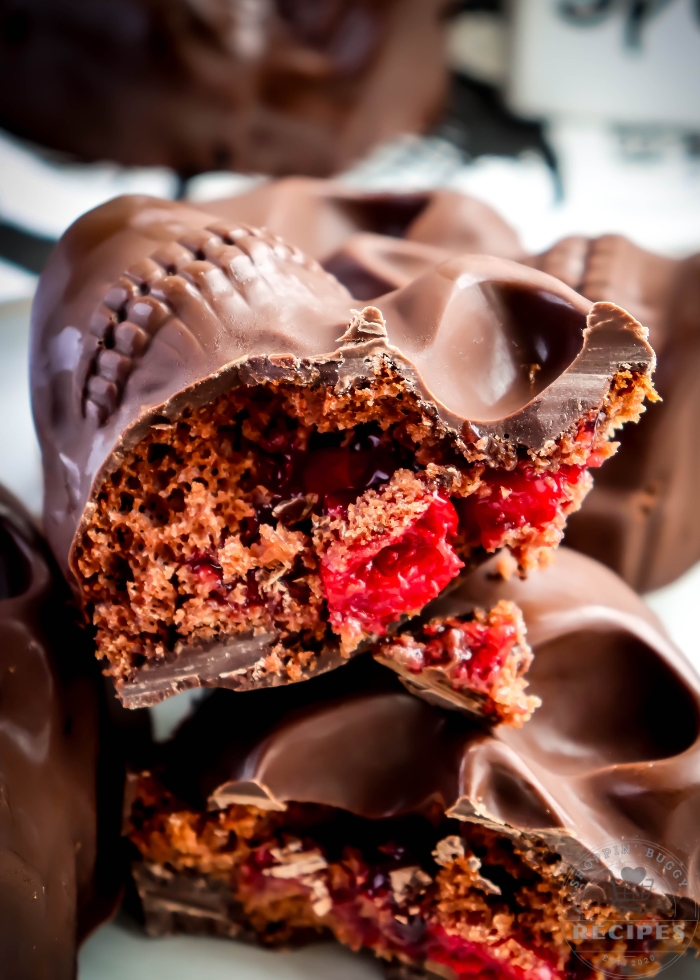
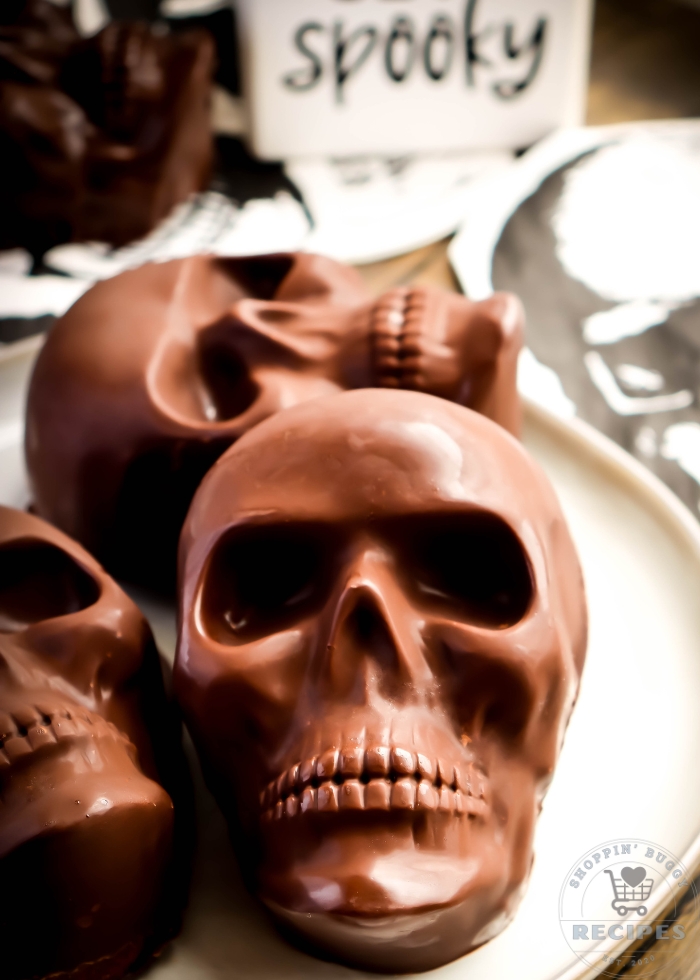
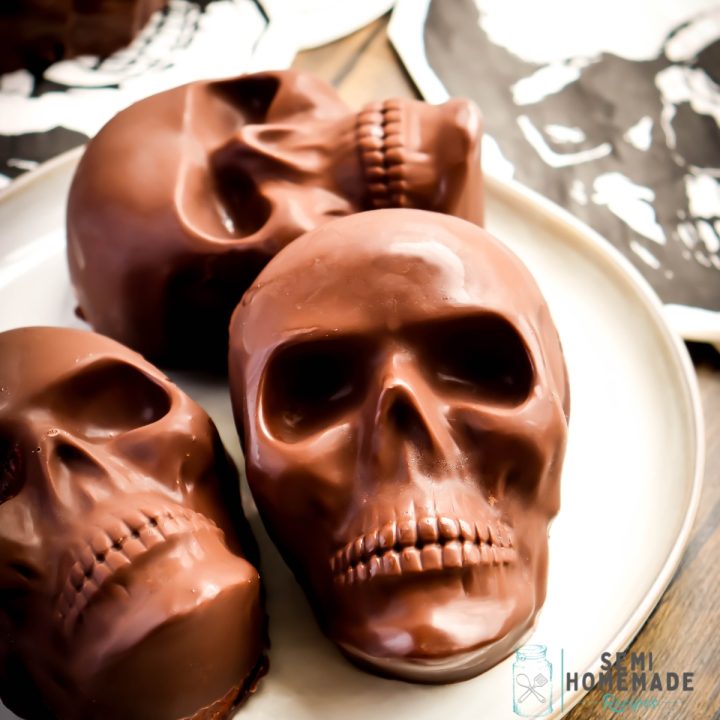
How spooky are these chocolate cherry skull cakes?! I love how perfect they look on the outside and then they’re filled with cherry pie filling to give them the perfect chocolate cherry bite!
Ingredients For Chocolate Cherry Skull Cakes:
- chocolate cake mix (plus ingredients to make the cake from the back of the box)
- cherry pie filling
- chocolate candy coating
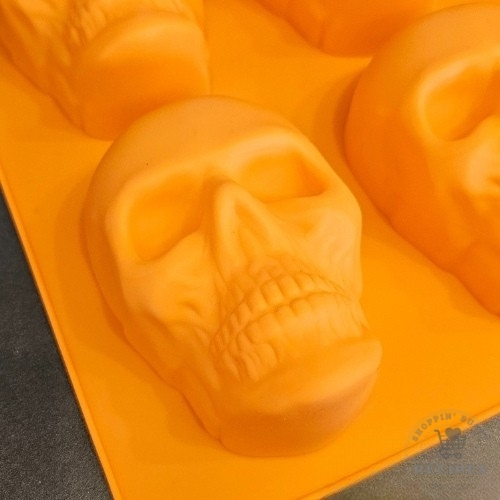
You’ll also need a skull cake mold
Ingredient amounts and entire recipe directions in recipe card below with print option
Which Brands Did I Use These Chocolate Cherry Skull Cakes?
Sometimes when it comes to Semihomemade recipe that use packaged foods to create meals, the brands of items can make or break a dish. I don’t think this ALWAYS happens but I do know that not all packaged items are created equally.
Chocolate Cake Mix – Betty Crocker Favorites Super Moist Chocolate Fudge Cake Mix
Cherry Pie Filling – Lucky Leaf Fruit Filling or Topping, Premium, Cherry Pie Filling – I like their cherry pie filling because its packed full of cherries and not just a can of “cherry goop”
Chocolate Candy Coating – Food Lion Brand Chocolate Melting Candy Coating
Skull Cake Mold – I used the Skulls Silicone Cakelette Mold by Celebrate It™ Halloween from Michaels for these cakes, but you can also find silicone skull molds from Amazon too. I like the silicone mold for this verses the metal skull mold (like the one I used for my Chicken Pot Pie Skulls) because the silicone mold is easier to work with when you’re trying to remove the chocolate skull from the mold.
How To Make Spooky Chocolate Cherry Skull Cakes:
-
Preheat oven to 350.
-
Mix chocolate cake mix according to box directions.
(You can use a homemade cake recipe if you want! You’ll need about 3/4 cup batter per skull) -
Pour batter evenly into skull molds.
-
Place skull molds on a baking sheet and then into the oven. Placing them on a baking sheet will help them cool more evenly and not sit unevenly on the oven rack.
Yes, you can put silicone bakeware directly on an oven rack, however, it’ll be so much easier to get it out of the oven if you put it on a baking sheet.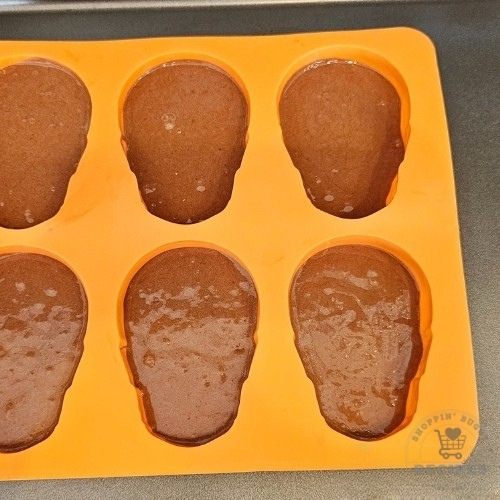
-
Bake for about 30 minutes or until done.
-
Remove from oven and let cake completely cool.
-
Once cakes are 100% cook, carefully remove them from the mold.
If you pop one of the cakes out and part of the face falls off, don’t worry! We’ll be hiding it with chocolate anyways!
You may also find that you need to trim the back of your skull cakes to make them flat.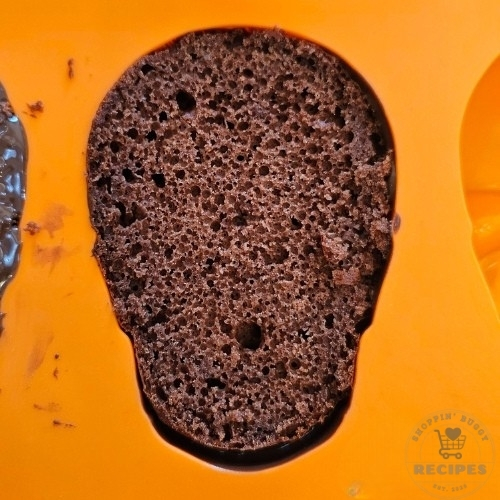
-
Wash and dry silicone mold. Make sure it is 100% dry since we’re going to be coating it with chocolate candy coating!
-
Melt chocolate coating according to package directions.
-
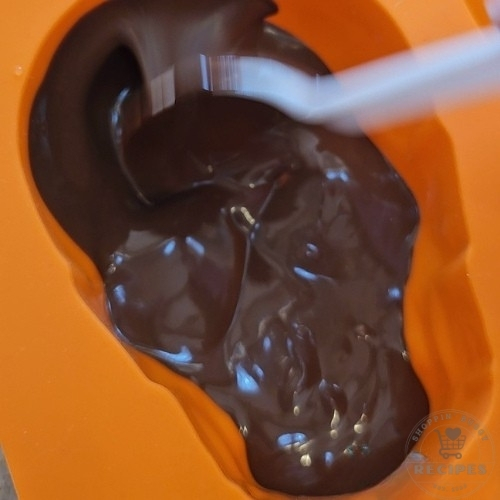
Pour a few spoonfuls of chocolate candy coating into skull mold.
-
Use a spoon to push chocolate around the mold, making sure to cover every part.
-
While chocolate is still melted, press a skull cake into the mold with the chocolate.
-
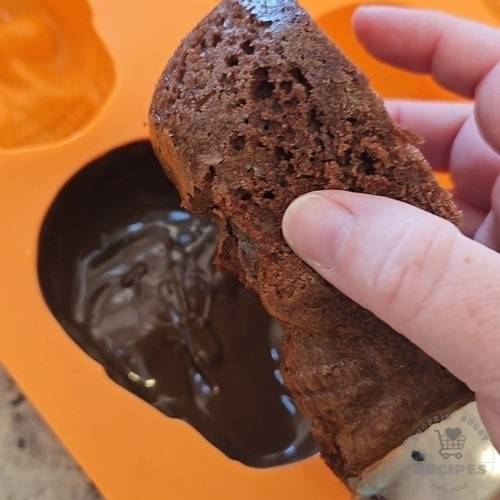
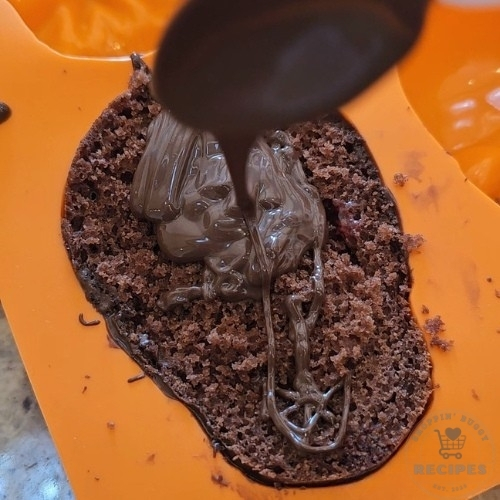
Use a spoon and scoop out a small section of the back of the cake.
-
Add in a spoonful of cherry pie filling.

-
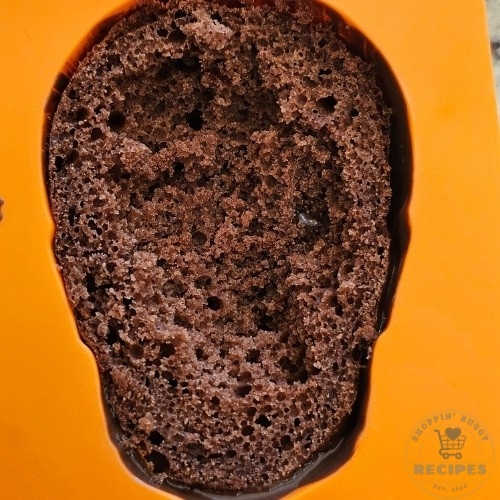
Top filling with some of the cake that was removed.
-
Pour melted chocolate candy coating over back of the cake, spreading to the edges.
-
Let cakes sit until chocolate has hardened. I like to stick them into the fridge for 30 minutes – 1 hour to harden.
-
Once chocolate has hardened, pop cakes out of the silicone molds.
You could also use Strawberry pie filling for these!
More Chocolate Cherry Recipes:
- Vampire Brownie Bites
- Chocolate Cherry Rum Cake Bites
- Chocolate Cherry Cheesecake Parfaits
- Black Forest Cupcakes
More Halloween Skull Recipes:
Chocolate Cherry Skull Cakes
Chocolate Cherry Skull Cakes
Looking to impress your friends at your next Halloween party? This step-by-step guide for will teach you the tricks to create terrifyingly delicious chocolate cherry skull cakes that will leave your guests in awe.
Ingredients
- 1 box chocolate cake mix (plus ingredients to make the cake from the back of the box)*
- 21 ounce can cherry pie filling
- 32 chocolate candy coating
Instructions
- Preheat oven to 350.
- Mix chocolate cake mix according to box directions.
- Pour batter evenly into skull molds.
- Place skull molds on a baking sheet and then into the oven.
- Bake for about 30 minutes or until done.
- Remove from oven and let cake completely cool.
- Once cakes are 100% cook, carefully remove them from the mold. You may also find that you need to trim the back of your skull cakes to make them flat.
- Wash and dry silicone mold.
- Melt chocolate coating according to package directions.
- Pour a few spoonfuls of chocolate candy coating into skull mold.
- Use a spoon to push chocolate around the mold, making sure to cover every part.
- While chocolate is still melted, press a skull cake into the mold with the chocolate.
- Use a spoon and scoop out a small section of the back of the cake.
- Add in a spoonful of cherry pie filling.
- Top filling with some of the cake that was removed.
- Pour melted chocolate candy coating over back of the cake, spreading to the edges.
- Let cakes sit until chocolate has hardened.
- I like to stick them into the fridge for 30 minutes - 1 hour to harden.
- Once chocolate has hardened, pop cakes out of the silicone molds.
Notes
* look at the back of your box. Normally, you’ll need oil, water and eggs.
If you make this recipe, snap a picture and share it on Instagram or Facebook with the hashtag #semihomemaderecipes — We love to see what you’re making from the blog!
Love it? Pin It!

HAPPY HALLOWEEN!!!
Welcome to 2023’s #HalloweenTreatsWeek event!
If you’re new here, Welcome! If you’re a returning haunt, welcome back!
#HalloweenTreatsWeek is a yearly Halloween blogging event that is hosted by Angie from Big Bear’s Wife . You’ll find that this fun and spooky event is an online, week-long event that is filled with some frightfully fun Halloween treats and recipes from some fantastic Halloween loving bloggers!
For this years 6th annual #HalloweenTreatsWeek event we have 18 hauntingly talented bloggers that are sharing their favorite Halloween recipes throughout the week! You can following the hashtag #HalloweenTreatsWeek on social media to collect all of these frightful recipes to use at your own Halloween parties and events!
Make Sure to check out all of the fun Halloween recipes that we’re sharing this week!
Today’s Halloween Offerings:
- Evil Dragon Deviled Eggs from Big Bear’s Wife
- Chocolate Cherry Skull Cakes from Semi Homemade Recipes
- Witch Hat Garlic Bread from Cheese Curd In Paradise
- Candy Corn Cookie Cake from The Spiffy Cookie
- Wicked Good Apple Cider Muffins from Our Good Life
- Spooky Spider Decadent Cupcakes from For the Love of Food
- Monster Mash Cereal Cheesecake from Sweet ReciPEAs
- Pumpkin Cheesecake Bites from It’s Shanaka
- Halloween Brains Cupcakes from An Affair from the Heart
- Breadstick Snakes from Karen’s Kitchen Stories
- Jack O’Lantern Tostadas from Palatable Pastime
- Witches Broom Cookies from Best Cookie Recipes
- Baked Intestine Pie from A Kitchen Hoor’s Adventures
- Spooky Roasted Potato Skulls from Savory Moments
- Mummy Donuts from The Redhead Baker
- Caramel Apple Bark from Best Dessert Recipes
- Mummy Dogs from Savory Experiments
- Halloween Taco Dip from Jen Around the World
- Easy Spider Cupcakes from Hezzi-D’s Recipe Box
- Creamy Pumpkin Hummus from Jolene’s Recipe Journal

So creepy and such a graeat flavor combination!
I love that you’ve used the molds for so many different recipes. These are amazing.
Chocolate and cherry is my favorite flavor combination and I’ve got to get one of those molds, so cool!
Fantastic and so creepy and yet so perfect. Love the chocolate cherry combination of flavors. YUM!